DS723+ Product Manual
Chapter 1: Before You Start
Thank you for purchasing this Synology product! Before setting up your new Synology NAS, please check the package contents to verify that you have received the items below. Also, make sure to read the safety instructions carefully to avoid harming yourself or damaging your Synology NAS.
Notes:
- All images below are for illustrative purposes only, and may differ from the actual product.
1.1 Package contents
Contact your reseller if your package is missing any of the below contents:
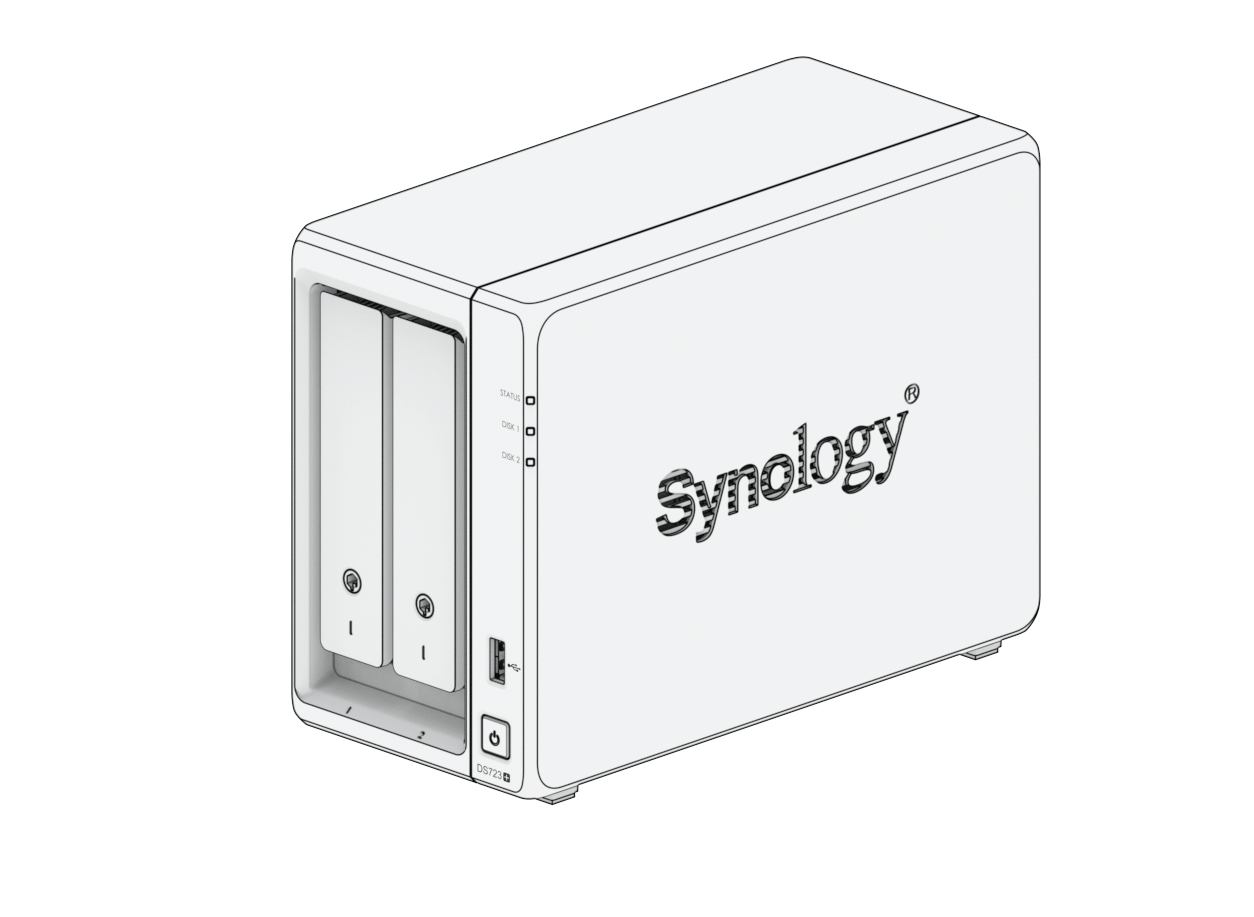
|
Main unit x 1
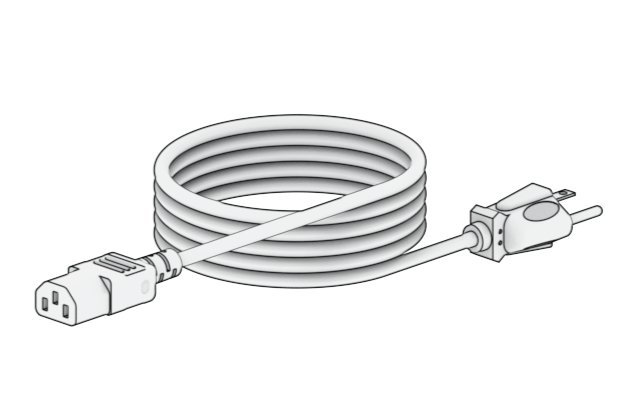
|
AC power cord x 1
|
 |
 |
|
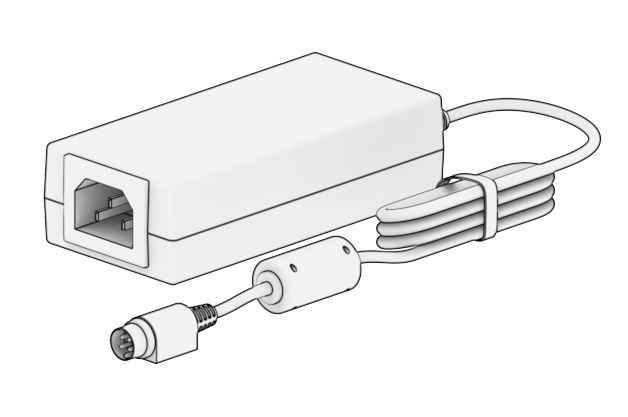
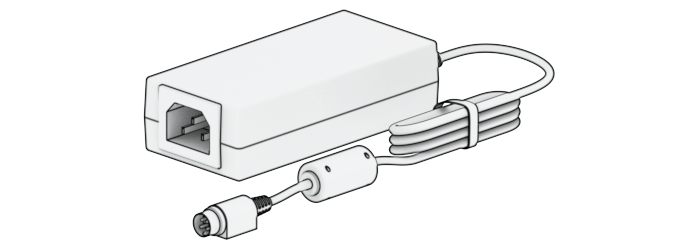
AC power adapter x 1
|
RJ-45 LAN cable x 2
|
 |
 |
|
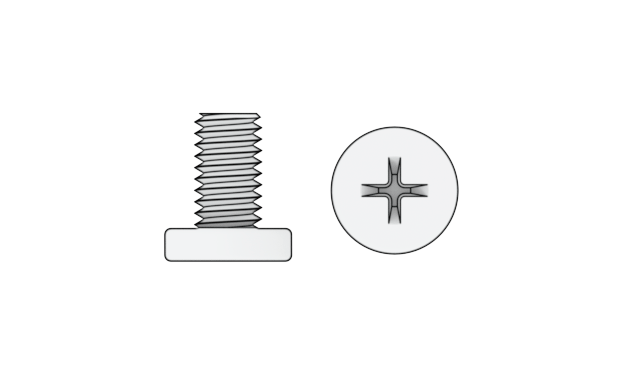
Screws for 2.5" drives x 10
|
Hard drive tray key x 2
|
 |
 |
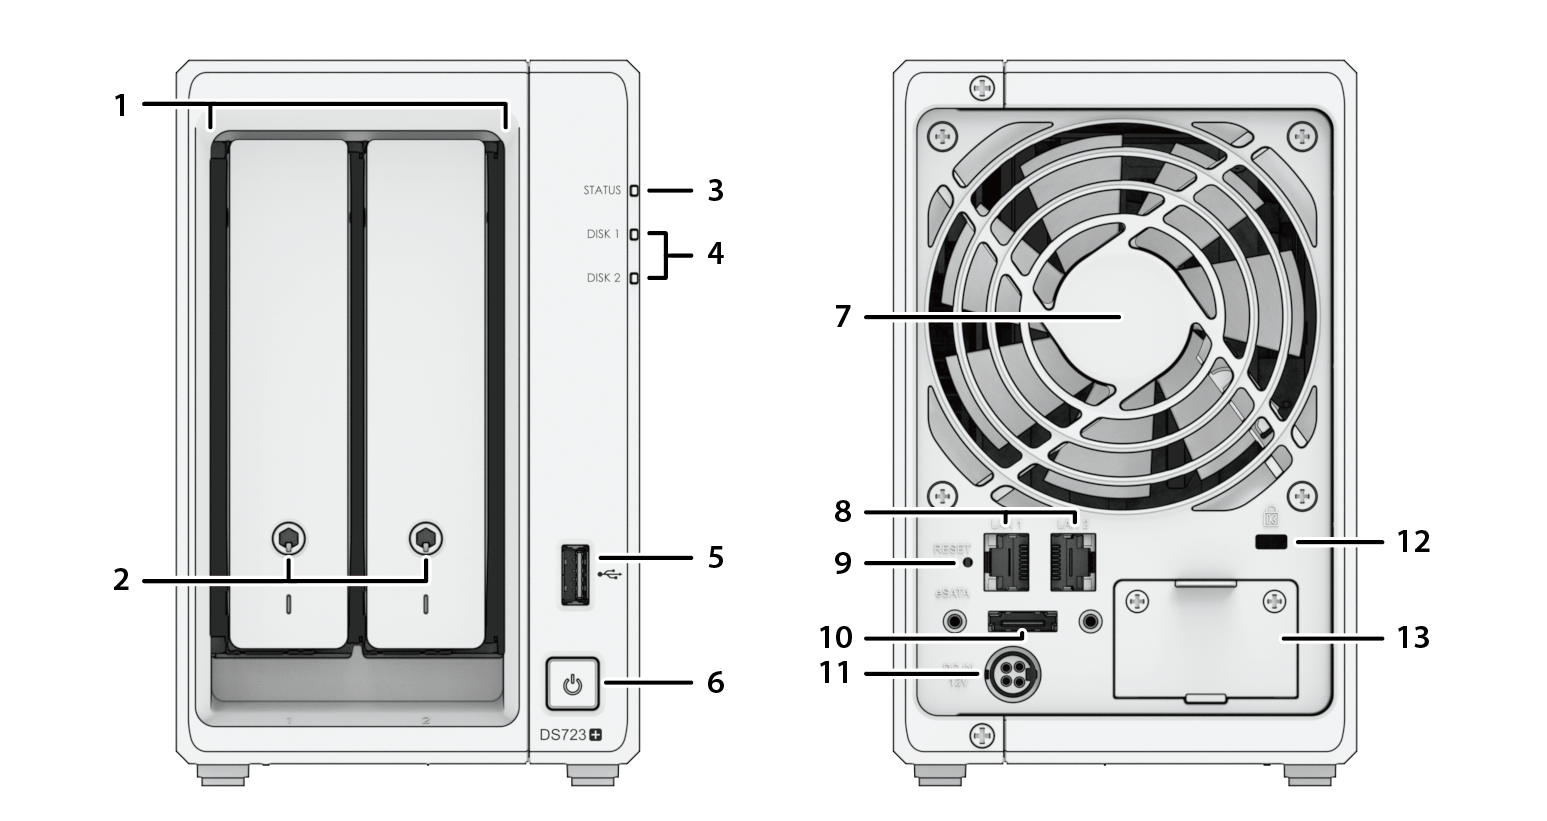
1.2 Synology DS723+ at a glance
|
No.
|
Name
|
Description
|
|
1
|
Drive Tray |
Install drives (hard disk drives or solid state drives) here. |
|
2
|
Drive Tray Lock |
Lock or unlock drive trays. |
|
3
|
STATUS Indicator |
Displays the status of the system. For more information, see "System modes and LED indicators". |
|
4
|
Drive Status Indicator |
Displays the status of drive. For more information, see "Other LED indicators". |
|
5
|
USB 3.2 Gen 1 Port |
Connect external drives or other USB devices to the Synology NAS here. |
|
6
|
Power Button and Indicator |
|
|
7
|
Fan |
Disposes of excess heat and cools the system. If the fan malfunctions, the Synology NAS will emit a beeping sound. |
|
8
|
LAN Port |
Connect network cable here. |
|
9
|
RESET Button |
For detailed information on how to reset your Synology NAS, please refer to this article. |
|
10
|
eSATA Port |
Connect Synology Expansion Unit1 to the Synology NAS here. |
|
11
|
Power Port |
Connect power cord here. |
|
12
|
Kensington Security Slot |
Attach a Kensington security lock here. |
|
13
|
Network Upgrade Slot |
Supports the addition of E10G22-T1-Mini network upgrade module. |
Notes:
- For more information about Synology Expansion Unit supported by your Synology NAS, please refer to Synology Products Compatibility List.
1.3 System modes and LED indicators
System modes definitions
There are 7 system modes in Synology NAS. The System modes and their definitions are as below:
|
System mode
|
Definition
|
|
Powering on
|
Synology NAS is powering on when you press the power button or restarting when you run operations in DSM. During the boot up process, the device also performs hardware initialization, such as hardware reset or BIOS initialization. |
|
Shutting down
|
Synology NAS is shutting down as a result of pressing the power button or operation in DSM. |
|
DSM not ready
|
DSM is not ready for use. This could either be:
|
|
DSM is ready for use
|
DSM is fully functioning, and users can sign in. |
|
Hibernation
|
Synology NAS has been idle for a while and is now in Hibernation mode. |
|
Application
|
Certain packages/services (e.g., USB Copy and Find me service) while in operation will control the actions of the LED. After the operation is complete, the LED indicator will return to its normal state. |
|
Powered off
|
Synology NAS is powered off. |
Identify System Modes
You can identify the system mode through the POWER and STATUS LED indicators. Please refer to the table below for more details.
|
System Mode
|
POWER LED
|
STATUS LED
|
|
|
Blue
|
Green
|
Orange
|
|
|
Powering on
|
Blinking
|
Off
|
Off
|
|
Shutting down
|
Blinking
|
Static
|
Off/Static1
|
|
DSM not ready
|
Static
|
Blinking
|
Off/Blinking1
|
|
DSM is ready for use
|
Static
|
Static
|
Off/Static1
|
|
Hibernation
|
Static
|
Off
|
Off/Static1
|
|
Application
|
Static
|
Switching
|
|
|
Powered off
|
Off
|
Off
|
Off
|
Notes:
Transitions between System Modes
To better understand the transition between system modes, please refer to the examples below:
- Powered on with no DSM installed:
Powered off > Powering on > DSM not ready
- Powered on with DSM installed:
Powered off > Powering on > DSM not ready > DSM is ready for use
- Entering hibernation then waking up from hibernation:
DSM is ready for use > In hibernation > DSM is ready for use
- Shutdown:
DSM is ready for use > Shutting down > Powered off
- Power failure with UPS attached:
DSM is ready for use > DSM not ready (due to power failure, DSM enters safe mode) > Shutting down > Powered off > Powering on (power has recovered, DSM will reboot) > DSM not ready > DSM is ready for use
1.4 Other LED definitions
|
LED Indicator
|
Color
|
Status
|
Description
|
|
Drive status
|
Green
|
Static
|
Drive ready and idle
|
|
Blinking
|
Accessing drive
|
||
|
Orange1
|
Static
|
Locating drive
|
|
|
Drive deactivated by user
|
|||
|
Port disabled2
|
|||
|
Drive health status is Critical or Failing
|
|||
|
Removing this drive will cause system damage; this is the only drive with DSM installed
|
|||
|
Off
|
No internal Drive
|
||
|
Rear 1GbE LAN
(on upper side of jack) |
Green
|
Static
|
Network connected
|
|
Blinking
|
Network active
|
||
|
Off
|
No network
|
||
|
Rear 1GbE LAN
(on lower side of jack) |
Green
|
Static
|
1 Gbps connected
|
|
Orange
|
100 Mbps connected
|
||
|
Off
|
10 Mbps connected/No network
|
||
Notes:
- When the drive LED indicator is orange, we recommend you sign in to DSM and go to Storage Manager > HDD/SSD for more information.
- Please try to restart your Synology NAS or re-insert the drives, then run the HDD/SSD manufacturer's diagnostic tool to check the health status of the drives. If you can sign in to DSM, please run the built-in S.M.A.R.T. test to scan the drives. If the problem remains unresolved, please contact Synology Technical Support for help.
1.5 Hardware Specification
|
Item
|
DS723+
|
|
CPU
|
AMD Ryzen R1600
|
|
RAM
|
DDR4 2 GB
|
|
Compatible Drive Type
|
• 3.5"/2.5" SATA x 2
• M.2 2280 NVMe SSD x 2 |
|
External Port
|
• USB 3.2 Gen 1 x 1
• eSATA x 1 |
|
LAN Port
|
1GbE (RJ-45) x 2
|
|
Network Upgrade Slot
|
Gen3 x2 slot (x2 link) x 1
|
|
Size (H x W x D) (mm)
|
166 x 106 x 223
|
|
Weight (kg)
|
1.51
|
|
Agency Certification
|
• FCC Class B • CE Class B • UKCA • BSMI Class B
• EAC • VCCI • CCC • RCM • KC • RoHS Compliant |
|
HDD Hibernation
|
Yes
|
|
Scheduled Power On/Off
|
Yes
|
|
Wake on LAN
|
Yes
|
|
Environment Requirement
|
• Line voltage: 100V to 240V AC
• Frequency: 50 / 60Hz • Operating Temperature: 32 to 104˚F (0 to 40˚C) • Storage Temperature: -5 to 140˚F (-20 to 60˚C) • Relative Humidity: 5% to 95% RH |
Notes:
- Model specifications are subject to change without notice. Refer to Synology website for the latest information.
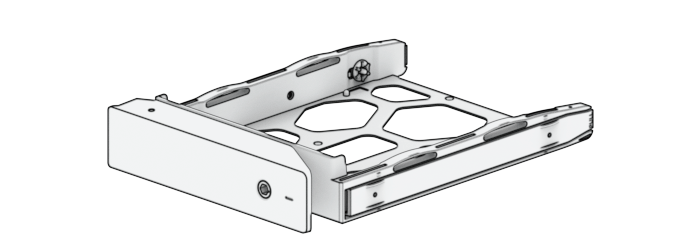
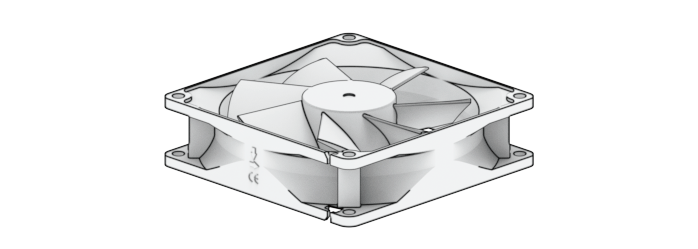
1.6 Spare Parts
Refer to Spare Parts if you need to replace system fans, disk trays, or power supply units.
|
Model Name
|
Picture
|
Description
|
|
Disk Tray (Type D9) |
|
3.5"/2.5" Drive Tray With Lock |
|
FAN 92*92*25_1 |
|
System Fan 92*92*25 mm |
|
Adapter 65W_2 |
|
Adapter 65W Level VI |
1.7 Optional Accessories
With Synology accessories, you can customize your Synology NAS to fit different business environments without worrying about compatibility and stability. Refer to Synology Products Compatibility List for more information.
1.8 Safety instructions
|
|
|
|
|
|
|
|
|
|
|
|
|
|
|
|
|
|
|
|
|
|
|
|
|
|
|
|
|
|
|
|
|


